Hi there! I’m back today with a quick and easy project to dress up your Thanksgiving or autumn table. I have been loving the shaker card trend lately, so I thought it would be fun to bring the idea into home decor as well. If you are having guests over for that special meal, personalizing these napkin rings with a name or monogram could turn them into place cards too!
Start by cutting your cardstock and patterned paper down to 2″ x 3″ pieces. Here I am using two colors from the Flavours Gourmet collection by CutCardStock that match my “Pumpkin Spice” (Simple Stories) patterned paper perfectly – “Cabernet” and “Carmelized Mustard“.
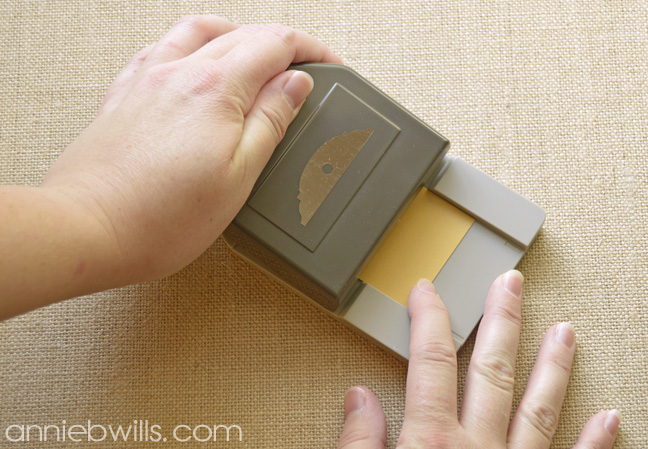
Cut each piece into a tag shape. I am using the Ornate Tag Topper Punch from Stampin’ Up, but you can also die-cut these with your Silhouette or even cut them by hand and add a hole for your ribbon with a hole-punch.
Once punched, my tags looked like this and were ready for more embellishment.
Next, I die-cut a leaf and pumpkin shape out of the center of each patterned paper tag and saved both the positive and negative die-cuts. These stitched dies are from the recent Stamptember release by Simon Says Stamp (“Stitched Pumpkins” and “Stitched Maple Trio”) and I love how they leave stitching on both the inside and outside of the shape!
To make my shaker window, I glued a small piece of acetate from leftover packaging to the back of my die-cut patterned paper tag using Tombow Mono Multi-Purpose Liquid Glue. TIP: I’ve heard all sorts of theories about how to prevent sequins from sticking to your acetate window via static cling (rub dryer sheets or powder tools on it…), but the only thing that REALLY works for me is to clean the acetate with Windex.
Then, I added foam tabs all the way around the window (being careful not to let them show through to the front), added a variety of small yellow, orange, and brown sequins (Pretty Pink Posh and Simon Says Stamp), and adhered a Carmelized Mustard piece to the back of each shaker tag.
For the Cabernet tags, I stamped a tiny elegant sentiment (“Full of Blessings” from Stampin’ Up – retired) to the bottom corner using Versamark ink, added a mustard-y gold embossing powder over top, and melted it with my heat tool.
After adding the die-cut shapes from my shaker tag fronts to the Cabernet tags with glue, my final set of tags looked like this.
Using just a knot of tan raffia, I attached a set of tags to each of my autumn-colored napkins for a simple and rustic look.
I love little touches like these to make holidays and other occasions extra special. Bonus – crafty guests can take these home and use them on cards or other projects!
I hope you enjoyed this project and thanks so much for stopping by today. You can visit the CutCardStock store to purchase any of the supplies showcased today…BONUS – the Flavours Gourmet Cardstock is on sale this month!
As always, I would love to hear your comments!


